
Vlogging & creation
How to Organize and Share Your Videos After Filming
You have just spent a weekend filming: drone above the landscapes, action camera in full descent, 360° sequences of the evening. The memory card is full, the adventure is in the box... and that's precisely where the real work begins. Sorting, saving, editing and then sharing your videos is the step that separates a folder of forgotten files from a memory that you watch and transmit. Here's a clear way to organize and share your videos after filming, without drowning in gigabytes.
At Fox Rider, we rent the DJI Osmo Pocket 4P by the day, delivered anywhere in France, insurance included.
Step 1: unload and secure your rushes
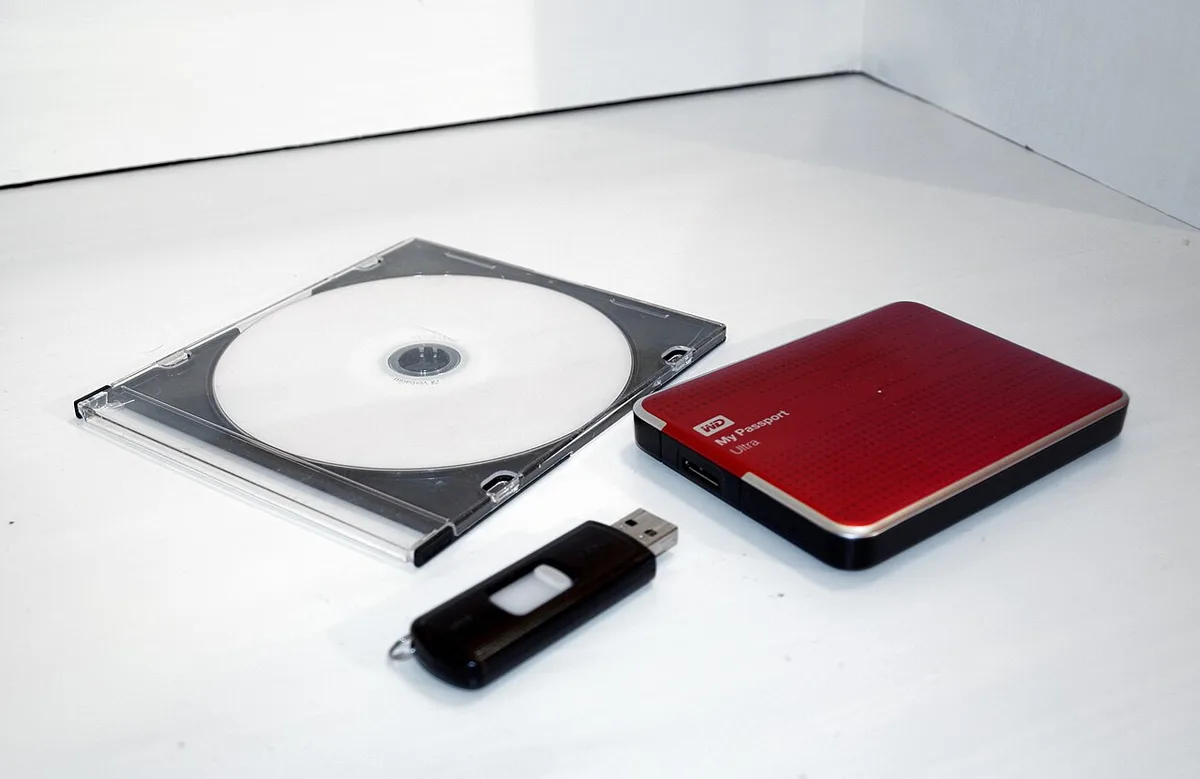
The first instinct, upon returning, is to copy all of your memory cards onto a reliable medium. The golden rule for professionals comes down to three numbers: 3-2-1. Three copies of your files, on two different media, including one copy off-site (e.g. in the cloud).
- A working copy on your computer or a fast disk.
- A backup copy on a dedicated external hard drive.
- A remote copy on an online storage service for the most valuable files.
Never format a memory card before checking that the copy is complete and readable. A card erased too soon is a memory lost forever.
Step 2: adopt a clear tree structure
Good classification will save you hours of editing. Create a folder per project, dated, with a constant structure. For example :
- 01_RUSHES: raw files, classified by source (drone, action camera, 360°).
- 02_AUDIO: music, voice-over, ambiance.
- 03_MONTAGE: the project for your editing software.
- 04_EXPORTS: the final videos ready to share.
Name your files explicitly (date, location, subject) rather than keeping the camera's automatic names. A meaningful name today is a search avoided in six months.
Step 3: sort before mounting
Before opening your editing software, do some sorting first. View your rushes and mark the best sequences. This preselection considerably simplifies the project and speeds up assembly. Be demanding: out of ten takes of the same scene, one or two are often enough. In video, less is almost always more.

Step 4: Edit and export to the correct format
Editing gives meaning to your images. Assemble your shots, add music to punctuate everything and take care of the transitions. When exporting, adapt the format to the destination:
| Destination | Recommended format | Orientation |
|---|---|---|
| YouTube / TV | 1080p or 4K, 16:9 | Horizontal |
| Instagram / TikTok | 1080p, 9:16 | Vertical |
| Private sharing | 1080p compressed | According to the filming |
For quick sharing, manufacturers' mobile applications can generate a neat automatic edit in just a few minutes, ideal for hot posting.
Step 5: Share smartly
Once the final video is ready, choose the correct channel. For private sharing between friends or family, an unlisted cloud link avoids making everything public. To distribute more widely, remember to take care of the thumbnail and the title, which make the difference on the platforms. And always keep a copy of the final export in your backup folder: it's the version you'll be looking at in ten years.
Conclusion: a good workflow, lasting memories
Secure, classify, sort, edit then share: this simple routine transforms a mountain of rushes into videos that we enjoy watching again. And it all starts with beautiful images, and therefore with the right equipment.
At Fox Rider, we rent action cameras, 360° cameras, drones and DJ equipment. Cameras and drones are delivered quickly anywhere in France, with our breakage and theft insurance included on all equipment (cameras, drones and sound equipment). DJ equipment cannot be shipped: it is collected and delivered by hand to Lyon 3, by appointment. Enough to film peacefully before moving on to editing. Discover our catalog or contact us for your next video project.
More in this section
 Vlogging & creation
What video format for YouTube, TikTok and Instagram?
You film the same sequence, but it must live on three very different platforms: YouTube, TikTok and Instagram. Gold […]
4 min read Vlogging & creation
Make a short film with rental equipment
Making a short film is one of the most educational projects there is for a videographer. In a few minutes of images, he […]
3 min read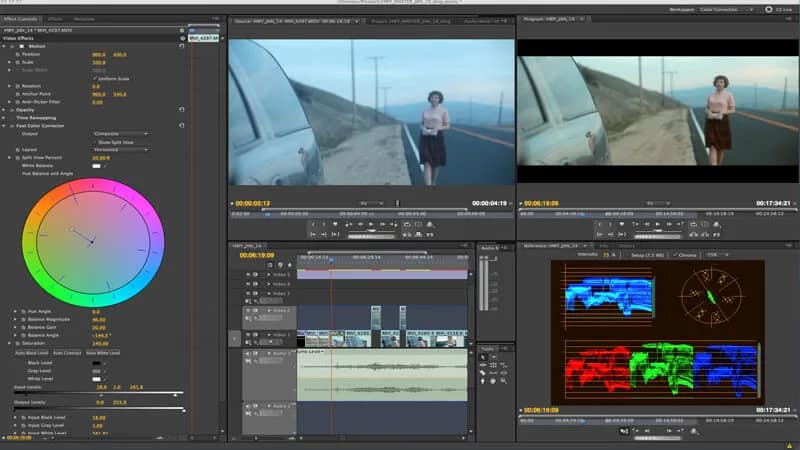 Vlogging & creation
The Best Free Video Editing Software in 2026
You've rented a camera, filmed hours of incredible footage, now what? You have to put everything together. Good news […]
3 min read