
Action & 360 cameras
Best GoPro Settings for Skiing, Mountain Biking and Boating
Your GoPro is ready, the batteries are charged, but you are unsure about the settings to use? This is a very common situation — and poorly chosen settings GoPro can turn an epic ski descent or memorable mountain bike run into an unusable video: too dark, too choppy, too blurry. This guide gives you the best settings GoPro for skiing, mountain biking, water sports and hiking, in the form of practical references to consult just before leaving.
The advice below applies to recent GoPro Hero available for rental from Fox Rider — the HERO12 Black and the HERO11 Black — delivered with their accessories and insured against breakage and theft.
Understand the essential settings
Before diving into the recommendations by sport, here are the five parameters that determine your images.
- Resolution and frame rate (FPS). 4K/30 is the all-around standard; 4K/60 is suitable for fast-paced sports and allows x2 slow motion; the 2.7K/120 allows x4 slow motion to detail a trick. Simple rule: high FPS if you want slow motion, high resolution if sharpness is important.
- Field of view (FOV). SuperView gives maximum immersion and feeling of speed; Wide is the good compromise; Linear corrects fish-eye distortion for a natural look.
- Stabilization HyperSmooth. Standard mode is often sufficient; the Boost mode, more cropped, is essential as soon as things shake hard (mountain biking, running).
- Horizon lock. Even if the camera rotates, the horizon remains straight. It’s the detail that instantly gives a professional look to moving shots, and it pairs perfectly with Linear mode.
- Colorimetric profile. Natural for faithful rendering, Vibrant for publishing directly on networks, Flat for those who grade during editing.
Settings for skiing and snowboarding
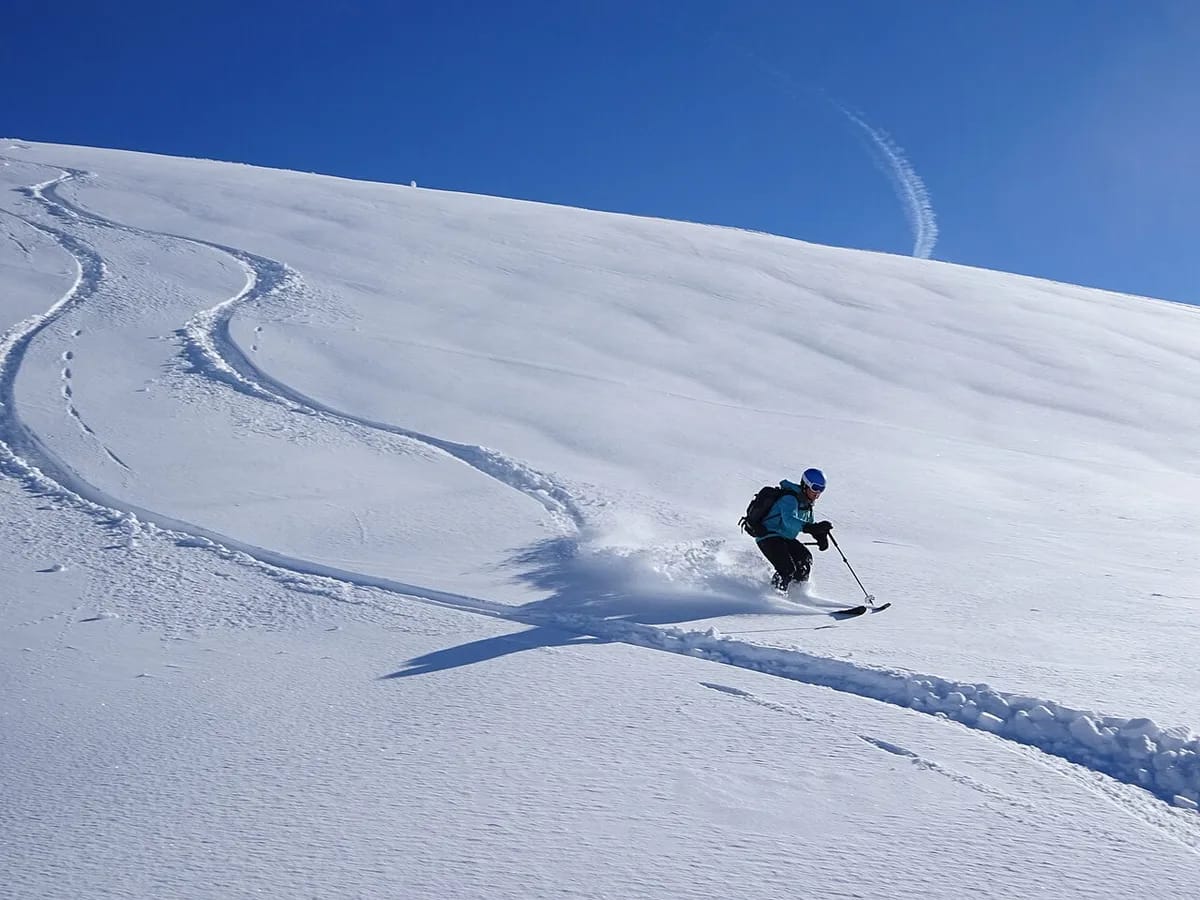
Snow, speed and changing light pose specific challenges. For downhill or freeride, aim for 4K/60, SuperView, HyperSmooth Boost, Vibrant profile. For park freestyle, switch to 2.7K/120 to slow down the tricks.
Some reflexes specific to the mountains:
- Manage the light from the snow. Very reflective, it deceives automatic exposure. Apply exposure compensation of -0.5 to -1.0 EV and set the white balance around 6500K to avoid bluish tones.
- Protect your batteries from the cold. In extreme cold, they lose a significant part of their capacity: keep spare batteries in an inside pocket, close to your body.
- Anti-fog. The hot/cold alternation creates fogging, typically when entering a refuge after a morning on the slopes: use an anti-fog insert, let the camera gradually acclimatize before filming and wipe the lens regularly.
- Fixation. The chest harness offers ideal immersion, with skis and poles in the frame.
MTB settings
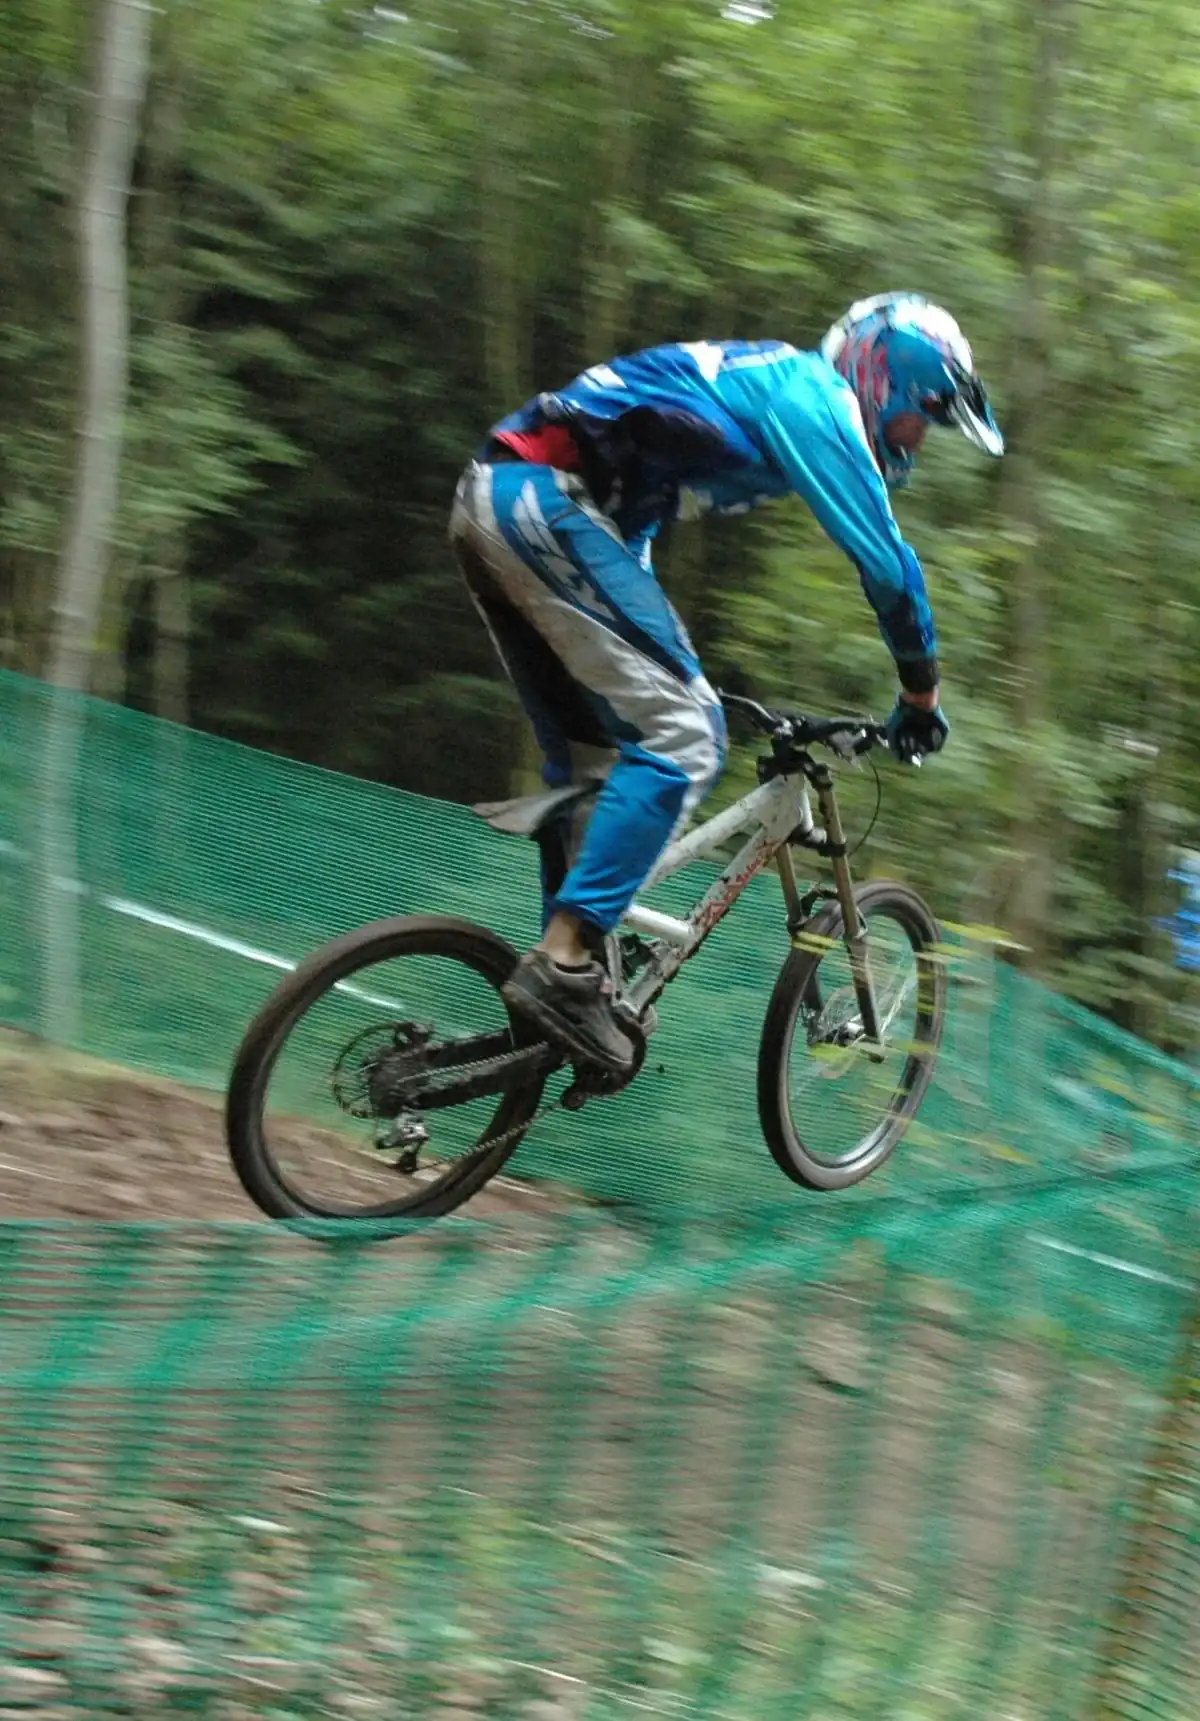
Vibrations, changes in forest/clearing light and dust: mountain biking is demanding. For enduro or downhill, choose 4K/60, SuperView, HyperSmooth Boost, Vibrant profile; for cross-country, 4K/30, Wide is enough.
- Boost mode is crucial. MTB vibrations are the most difficult to stabilize. On technical trails, Boost makes the difference between an enjoyable video and one that makes you seasick.
- Increase the max ISO in the undergrowth. A higher max ISO (up to 1600) helps compensate for low forest light without slowing down the shutter, which prevents motion blur.
- Protect the lens. Dust and mud are the enemies: a tempered glass lens protector and a microfiber cloth between runs are essential.
- Fixing. The chest harness moves less than the helmet; the handlebar mount offers a spectacular low angle but requires Boost mode.
Settings for water sports
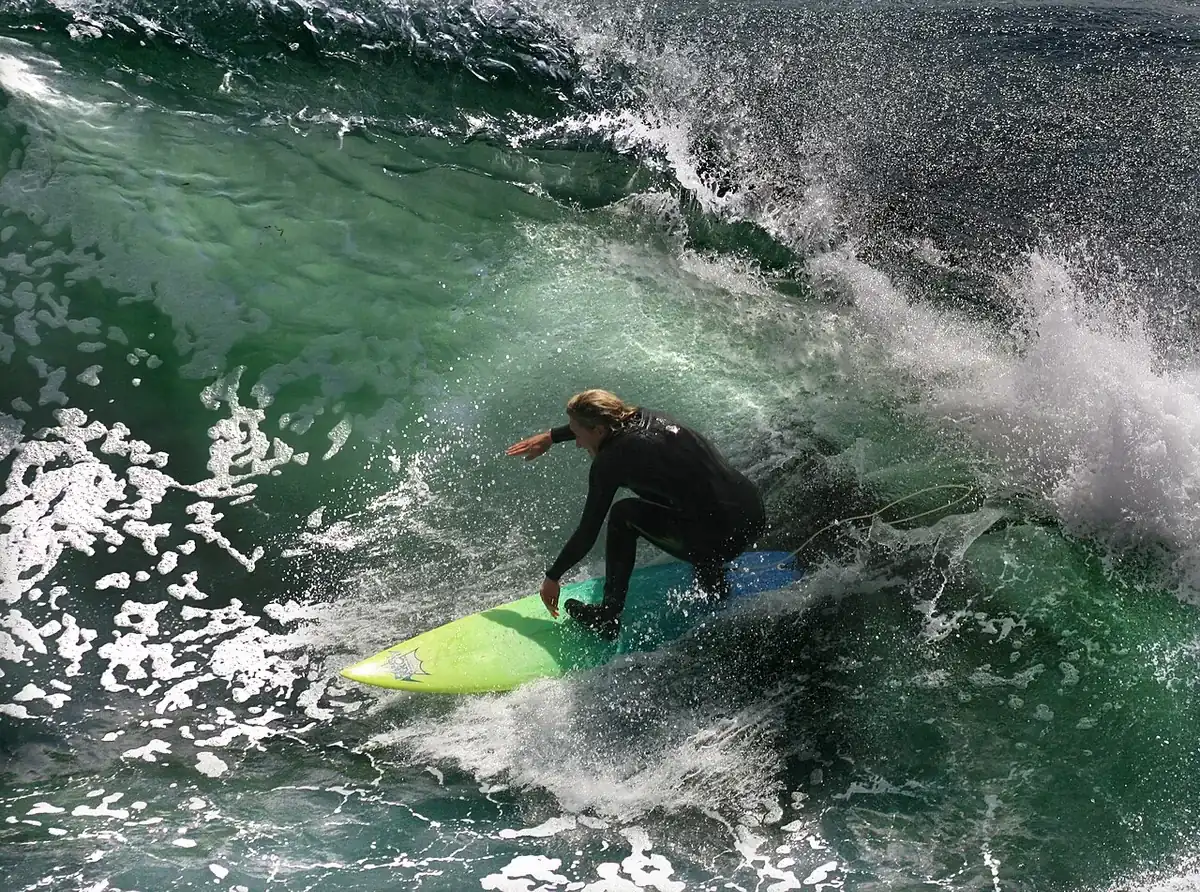
Surfing, kayaking, diving: the GoPro excels thanks to its waterproofness. For surfing or wakeboarding, aim for 4K/60, SuperView, HyperSmooth, Vibrant profile. In a kayak or paddle, 4K/30, Wide is enough. When diving, switch to Flat profile to preserve the colors.
- Tame water drops. A hydrophobic product on the lens before the session, or a hydrophobic lens protector, prevents stray drops.
- Red filter when diving. From a few meters depth, the image tends towards blue-green: a red filter restores natural colors.
- Waterproofing and housing. The GoPro is water resistant without housing within a certain depth limit; beyond that, the dedicated box becomes essential.
- Fixation. The mouth mount is the surfing classic: angle close to the eye, hands free.
Settings for hiking
Hiking requires the opposite of skiing: little speed, a lot of time. Filming a continuous climb only produces endless rushes - this is the playground of TimeWarp, which accelerates the march while stabilizing the image.
- TimeWarp x10 or x15. Enough to transform two hours of walking into one minute of hypnotic video, with the landscapes passing by.
- The photo burst for key moments. When reaching the summit or crossing a technical section, the burst guarantees that at least one image in the series will be perfect.
Fixings and recording comfort
Each sport has its favorite fixation, as we have seen, but the logic is the same everywhere: the fixation determines the point of view, therefore the emotion transmitted. The real reflex is to change it during the same outing, because this is what will give rhythm to your editing.
- Helmet: restores the exact point of view of the rider, ideal for mountain biking and skiing.
- Chest: places the camera lower, which accentuates speed and relief; it is also the most stable binding for hiking.
- Handlebars or board: shows the moving equipment and terrain.
- Telescopic pole: third-person shots, summit selfies and diving angles.
In the field, you don't have time to fumble. Activate snapshot, which starts recording with a single press with the camera off, and voice command when your hands are holding a handlebar or board. Finally, monitor the battery life: the higher the resolution and frame rate, the faster the battery heats up and drains. Turn off GPS and Wi-Fi that you don't need, and always carry a spare battery.
GoPro or 360 camera: what to choose for your sport?
Both families excel, but with different philosophies. The GoPro focuses on robustness and HyperSmooth, which stabilizes the shot you have framed. A 360 camera like the Insta360 X5 films everything around it and stabilizes with FlowState: you choose the framing afterwards, quietly in front of your screen, and you can even reposition the point of view during editing. It is also what produces the “invisible pole” effect, very popular in mountain biking and skiing. Simple rule: GoPro if you know in advance where to look, 360 if the action can come from anywhere.
The checklist before leaving to film
A few seconds of verification avoids many disappointments:
- Main battery and spare batteries charged.
- Memory card inserted and formatted, sufficient space.
- Settings adapted to the activity (see above).
- Fastener correctly installed and tightened.
- Lens protection in place and firmware up to date.
- Test for a few seconds to check angle and exposure.
- Hydrophobic product (nautical) or anti-fog insert (cold/humidity) applied.
From filming to editing
Images are only half the job. Alternate angles, reserve slow motion for key moments — a takeoff, a landing — rather than slowing everything down, and provide a rhythmic soundtrack that supports the energy of the session. Consistent calibration from one shot to another is then enough to unify the whole thing: in the mountains, it is what brings out the dazzling white of the snow and the deep blue of the high altitude sky.
Conclusion
The right settings GoPro make all the difference between an amateur video and a result worthy of a pro. By adapting resolution, FOV, stabilization and color profile to your sport — ski, MTB, nautical or hiking — you get the most out of each session.
To film your next adventures with recent equipment without buying it, consider renting from Fox Rider: GoPro, 360 cameras, sports mounts, batteries and protections, all ready to use and delivered anywhere in France. Each rental is covered by breakage and theft insurance, a real comfort in disciplines that mishandle the equipment.