
Action & 360 cameras
Insta360 X4: 360 video editing tutorial with the free app
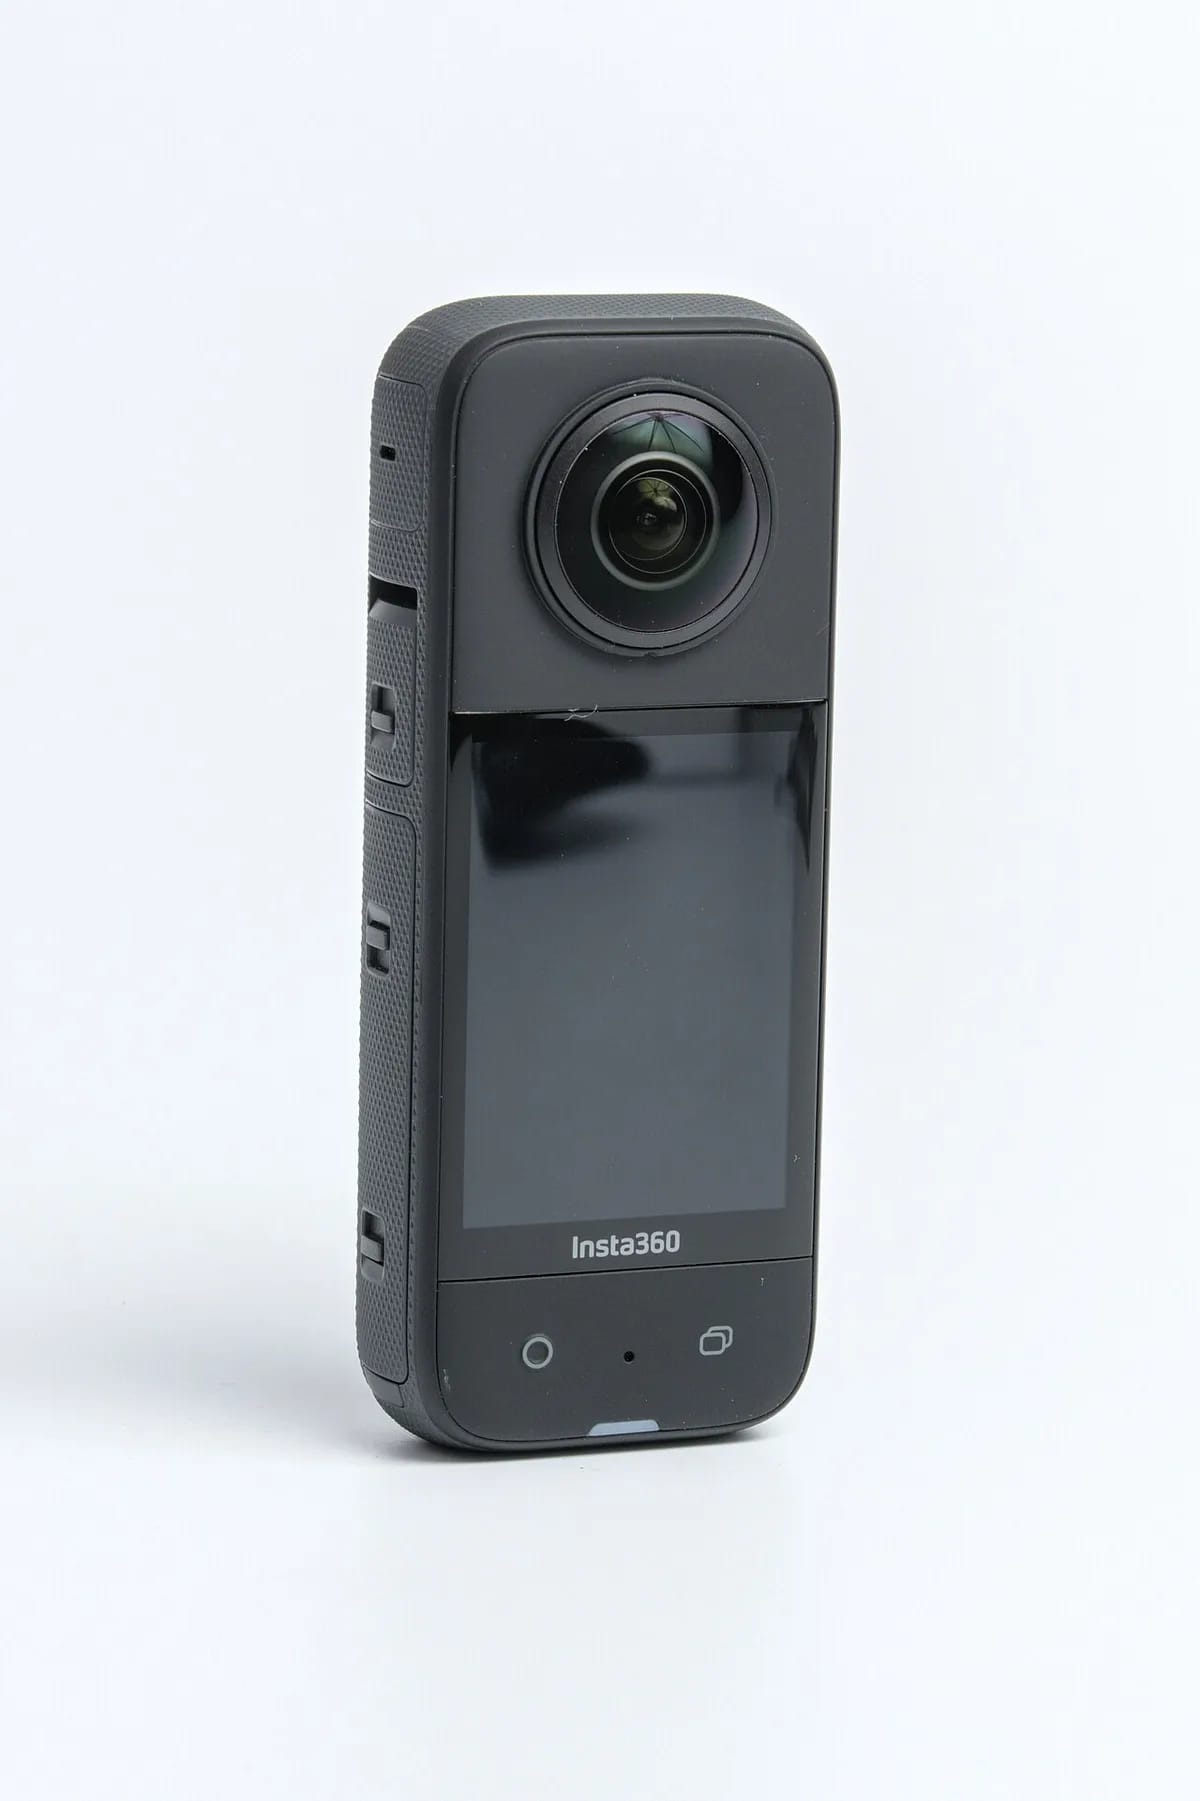
The 360° camera has transformed the way you film your adventures: no need to aim, you capture everything, everywhere, and you choose the framing after filming. But this comfort has a downside: without editing, a 360° video remains a raw file that is difficult to share. Good news, the Insta360 application — free and available on iOS and Android — allows you to do everything from your smartphone, from cropping to sharing on social networks. Here is our complete guide to going from 360° rush to ready-to-publish video.
At Fox Rider, we rent out the Insta360 X4 — the very camera in this tutorial — alongside the GoPro range, delivered anywhere in France and insured against breakage and theft. The ideal opportunity to test the 360° format without investing in expensive equipment.
Understand the principle of 360° video
A 360° camera like the Insta360 X4 films with two opposing ultra-wide-angle lenses. The two images are then “stitched” to form a complete video sphere. Concretely, you never miss the action again: everything that happens around the camera is recorded.
The creative work comes in editing, when you decide where to look in that sphere. This is what we call reframing: extracting a classic frame (16:9, vertical 9:16, etc.) from a video which contains the complete image. This is where all the magic of the format lies.
Step 1: Import and organize your footage in the app
After filming, connect your camera to the Insta360 app via built-in Wi-Fi, or remove the microSD card to transfer files — the X4 rental pack ships with a 1 TB SanDisk card, the maximum recommended for this camera. The app automatically displays your 360° clips with their spherical preview.
- Sort first: delete the missed takes and keep only the best moments.
- Watch in immersive mode: slide your finger across the screen to explore the sphere and spot interesting angles.
- Rename your clips if you are working on a long project, to find your way around more quickly.
Step 2: reframing, the heart of 360° editing
This is the most creative step. In the editor, you define keyframes that indicate where the virtual camera should look at each moment. The app then interpolates movements between these points to create smooth pans.
Tools to know
- Deep Track: the app automatically tracks a subject (person, animal, vehicle) and keeps the frame centered on it.
- Signature effects: “Tiny Planet”, which folds the sphere into a mini-planet as you reframe, and “Bullet Time”, which is shot on the camera itself — you swing the X4 around on the selfie stick — then finished in the app.
- Speed: slow motion and fast motion are adjusted by segment to punctuate the story.
Tip: don’t multiply the effects. One or two highlights per video are enough to impress without tiring.
Step 3: build the story and take care of the rhythm
A good video tells a story, even a short one. After reframing, assemble your clips in the timeline:
- Cut it short: shots of 3 to 5 seconds maintain attention.
- Add music: the app's integrated library offers royalty-free tracks, adjustable to the tempo.
- Sync cuts to music highlights for a dynamic edit.
- Consider the vertical format if your target is Instagram Reels, TikTok or YouTube Shorts.
Step 4: Export and share in the correct format
Before exporting, choose the resolution suitable for your broadcast. For social networks, 1080p or 2.7K offer a good compromise between quality and file size; for a TV screen or professional use, aim higher. The app generates a classic “flat” video, directly readable and shareable, without your audience needing a special player.
Consider exporting one version per platform if you publish both horizontally and vertically: the same 360° rush can feed several formats without flipping.
Our advice for truly professional results
- Film at variable height: on the ground, up high, at the end of the 1.10 m invisible selfie stick included in the pack — the seam between the two lenses erases it from the image, and the shot looks like it came from a drone.
- Enjoy the soft light of sunrise and sunset for flattering colors.
- Stabilize: the integrated stabilization eliminates the majority of tremors, but slow and ample movements remain more pleasing to the eye.
- Anticipate reframing: think, while shooting, about what you want to show later.
Want to try 360° video?
The 360° format is spectacular, but it's best to try it before you buy it. At Fox Rider, you rent equipment checked before each shipment, delivered quickly anywhere in France, with breakage and theft insurance included. Ideal for a trip, a sporting event or a simple creative weekend.
Discover the Insta360 X4 for rental on fox-rider.com and get started: your first immersive video is within reach.
More in this section
 Action & 360 cameras
GoPro Hero 12: 10 essential settings for perfect videos
Master the GoPro Hero 12’s 10 key settings to shoot like a pro. From 5.3K resolution to HyperSmooth stabilization, each parameter explained simply.
4 min read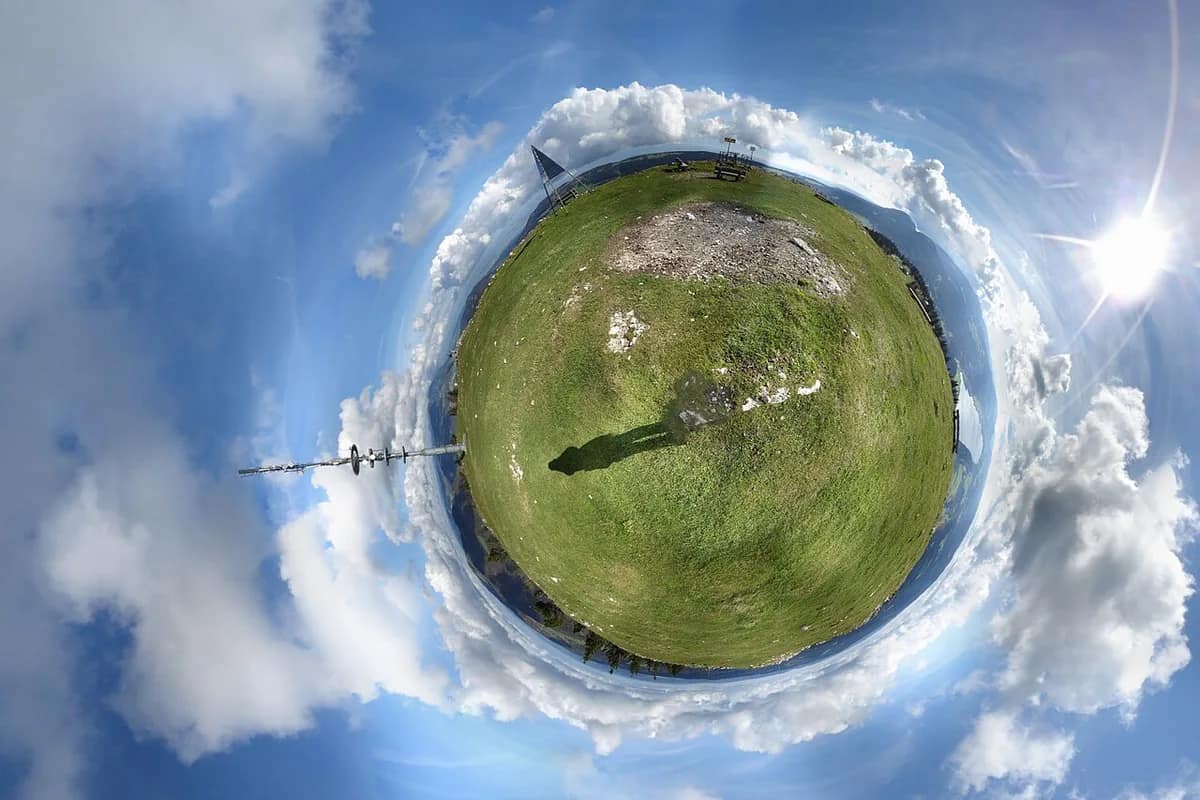 Action & 360 cameras
How to Create Viral Content for TikTok with a 360° Camera
360-degree videos are exploding view counts on TikTok. Tiny planet effect, impossible transitions, perspectives that […]
3 min read Action & 360 cameras
Filming your children on vacation: our tips
Family vacations are flying by. Between the first swim in the sea, the giggles on the shore […]
4 min read