
Action & 360 cameras
Timelapse and hyperlapse with GoPro: the complete guide
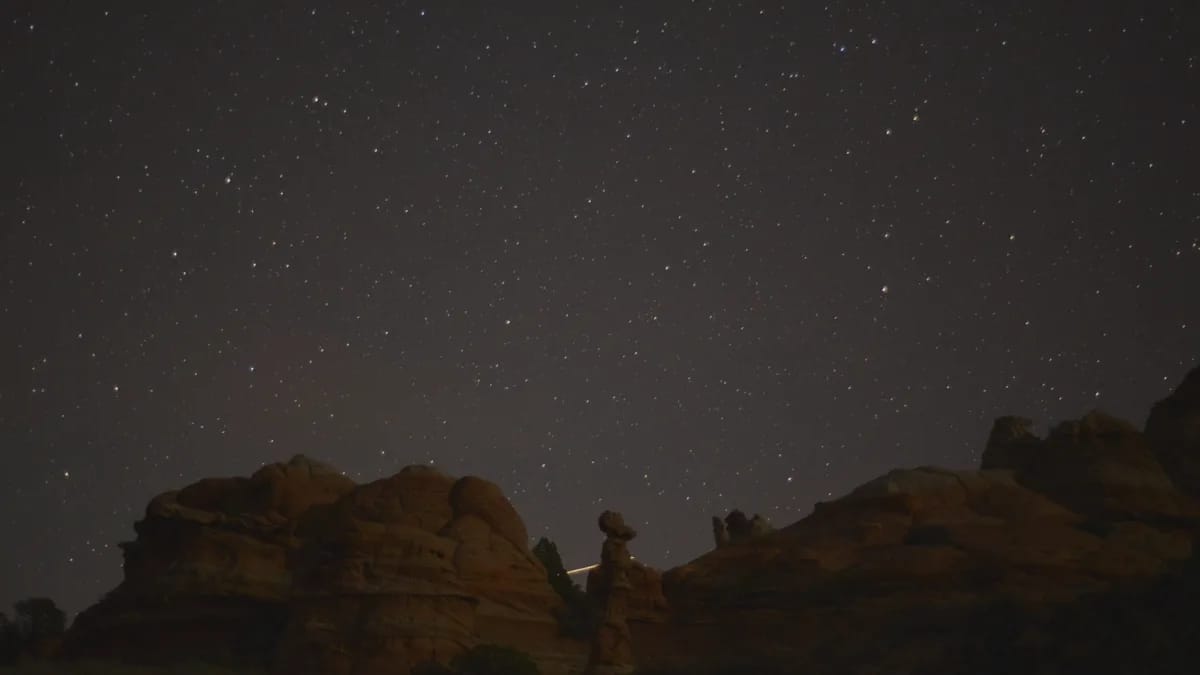
Timelapse and hyperlapse are among the most spectacular effects that can be achieved with an action camera. Clouds passing by, urban traffic transforming into rivers of light, starry skies slowly rotating above a landscape: these sequences condense hours of reality into a few hypnotic seconds. Good news, your GoPro comes with everything you need to produce them, provided you understand a few principles. Here's the complete guide to switching from automatic mode to documentary-quality footage.
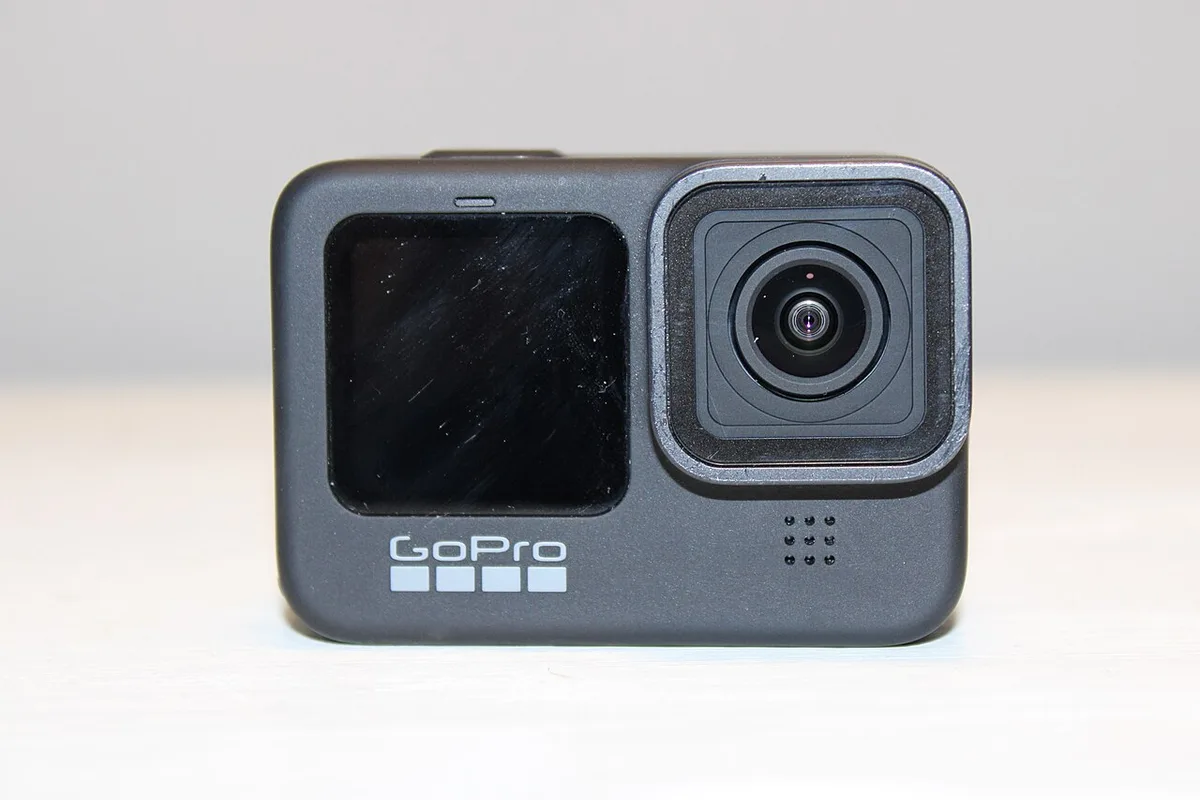
At Fox Rider, you can test these techniques without investing in expensive equipment thanks to our GoPro Hero 12 Black rental and our GoPro Hero 11 Black rental.
Timelapse, hyperlapse, TimeWarp: what are the differences?
The common principle is simple: the camera takes a photo at regular intervals, then these images are assembled into video at 24 or 30 frames per second. Time then passes in an accelerated, fluid and cinematic way. Nothing to do, therefore, with a classic video accelerated during editing: this loses quality and gives a jerky rendering. From there, three families of effects often lead to confusion:
- Timelapse: the camera is fixed (on a tripod or placed) and captures an image at regular intervals. During editing, these images follow one another and accelerate time. Ideal for a sunset, clouds or a construction site.
- Hyperlapse: it’s a moving timelapse. You move the camera between each shot (a few steps, a rail), which creates a particularly immersive accelerated tracking shot effect in an urban environment.
- TimeWarp: the stabilized and simplified version specific to GoPro. The camera calculates the hyperlapse in real time, camera in hand, without a tripod. This is the most accessible mode to start with.
The essential settings for a successful timelapse
The success of a timelapse depends largely on the choice of the capture interval, that is to say the time between two photos. The slower the subject, the longer the interval should be:
- 0.5 to 2 seconds: road traffic, crowds, busy scenes
- 1 to 2 seconds: fast clouds
- 5 to 10 seconds: sunset
- 10 to 30 seconds: moving shadows, construction site, setting up a room
- 15 to 30 seconds: movement of the stars
The shorter the interval, the smoother the rendering, but the more battery and storage space you consume; too long, it gives a choppy result. The happy medium depends on the actual length of your scene.
Always aim for the highest resolution your camera offers: this is what will allow you to crop during editing without losing quality. If the model allows it, capturing images in photo mode (RAW) provides maximum control in post-production; the integrated timelapse video mode is simpler but less flexible.
Also remember to lock the exposure when the light is stable: this avoids unsightly variations in brightness (the famous “flicker”) from one image to another. For a day/night transition like a sunset, lock to an intermediate value; and for night scenes, the Night Lapse mode of GoPro allows you to extend the exposure time in order to capture stars and light trails.
Hyperlapse: the method for fluid shots
Performing a hyperlapse requires a bit of rigor, but the visual reward is worth it. A few simple principles make all the difference:
- Choose a reference point in the frame (a monument, a sign) and always keep it in the same place in the image between each shot.
- Move at a steady pace between each trigger, ideally the same distance each time.
- Stabilize in post-production if necessary: even with a smooth camera, editing software smooths out the last tremors.
For beginners, TimeWarp mode remains the best starting point: it combines walking and HyperSmooth stabilization for a clean result without a tripod.
Tripod and power supply: the equipment that matters
Only two props separate the DIY timelapse from the polished sequence.
- The tripod: essential for fixed timelapse, because the slightest vibration will be amplified by the acceleration of time. A mini-tripod is sufficient in most cases; in windy outdoors, prefer a heavier or weighted model. A flexible Gorillapod type tripod is an excellent compromise between lightness and stability.
- Power supply: a sequence of several hours quickly exhausts a battery. Bring an external battery connected via USB; Most recent cameras film while charging via their USB-C port.
Composition and light: the fundamentals that make the difference
A technical timelapse but without visual interest remains a bad timelapse. Take care of your framing:
- Look for a strong foreground (rock, tree, building) that anchors the image while the background evolves.
- Apply the rule of thirds by activating the composition grid of GoPro.
- Prioritize the “golden hours” at sunrise and sunset for warm, contrasting lights.
Five timelapse ideas to try
- A sunset from a clear point of view, taking care of the foreground which will anchor the image.
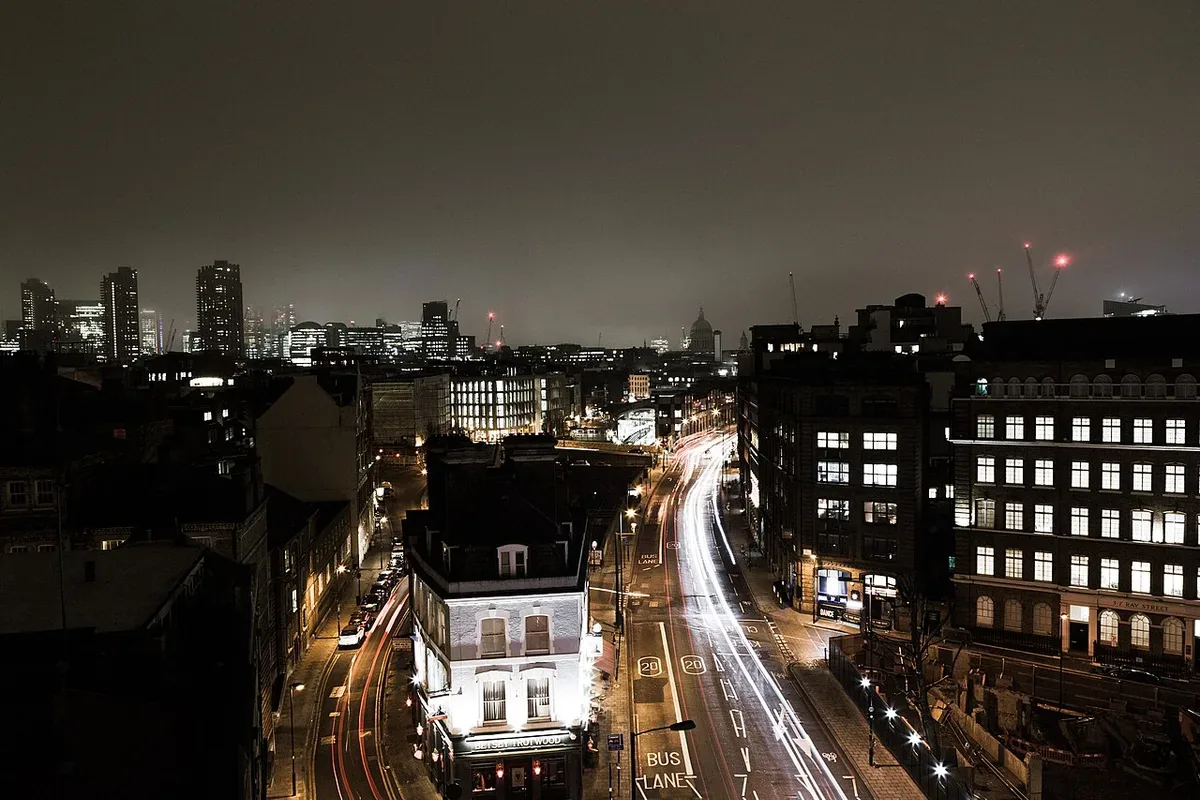
- Urban traffic at night: headlights transform into streaks of light with striking graphics.
- A starry sky, the Grail of the genre: it requires a place without light pollution and the longest interval on the list above.
- A rising or falling tide, with the water slowly covering and then uncovering the landscape.
- Setting up an event: a party or wedding room that goes from empty to complete decor.
Editing: giving rhythm to your sequences
Once your rushes have been captured, editing transforms a series of images into a visual story. If you used the integrated timelapse mode, the video file can be directly used and the GoPro Quik application automatically assembles it, with quick export for social networks. If you've captured individual photos, use specialized software like LRTimelapse or a traditional editor to stitch them together, then work on the cadence, music, and light color grading to unify the whole thing. The golden rule: a timelapse almost always benefits from being short and dense rather than long and repetitive.
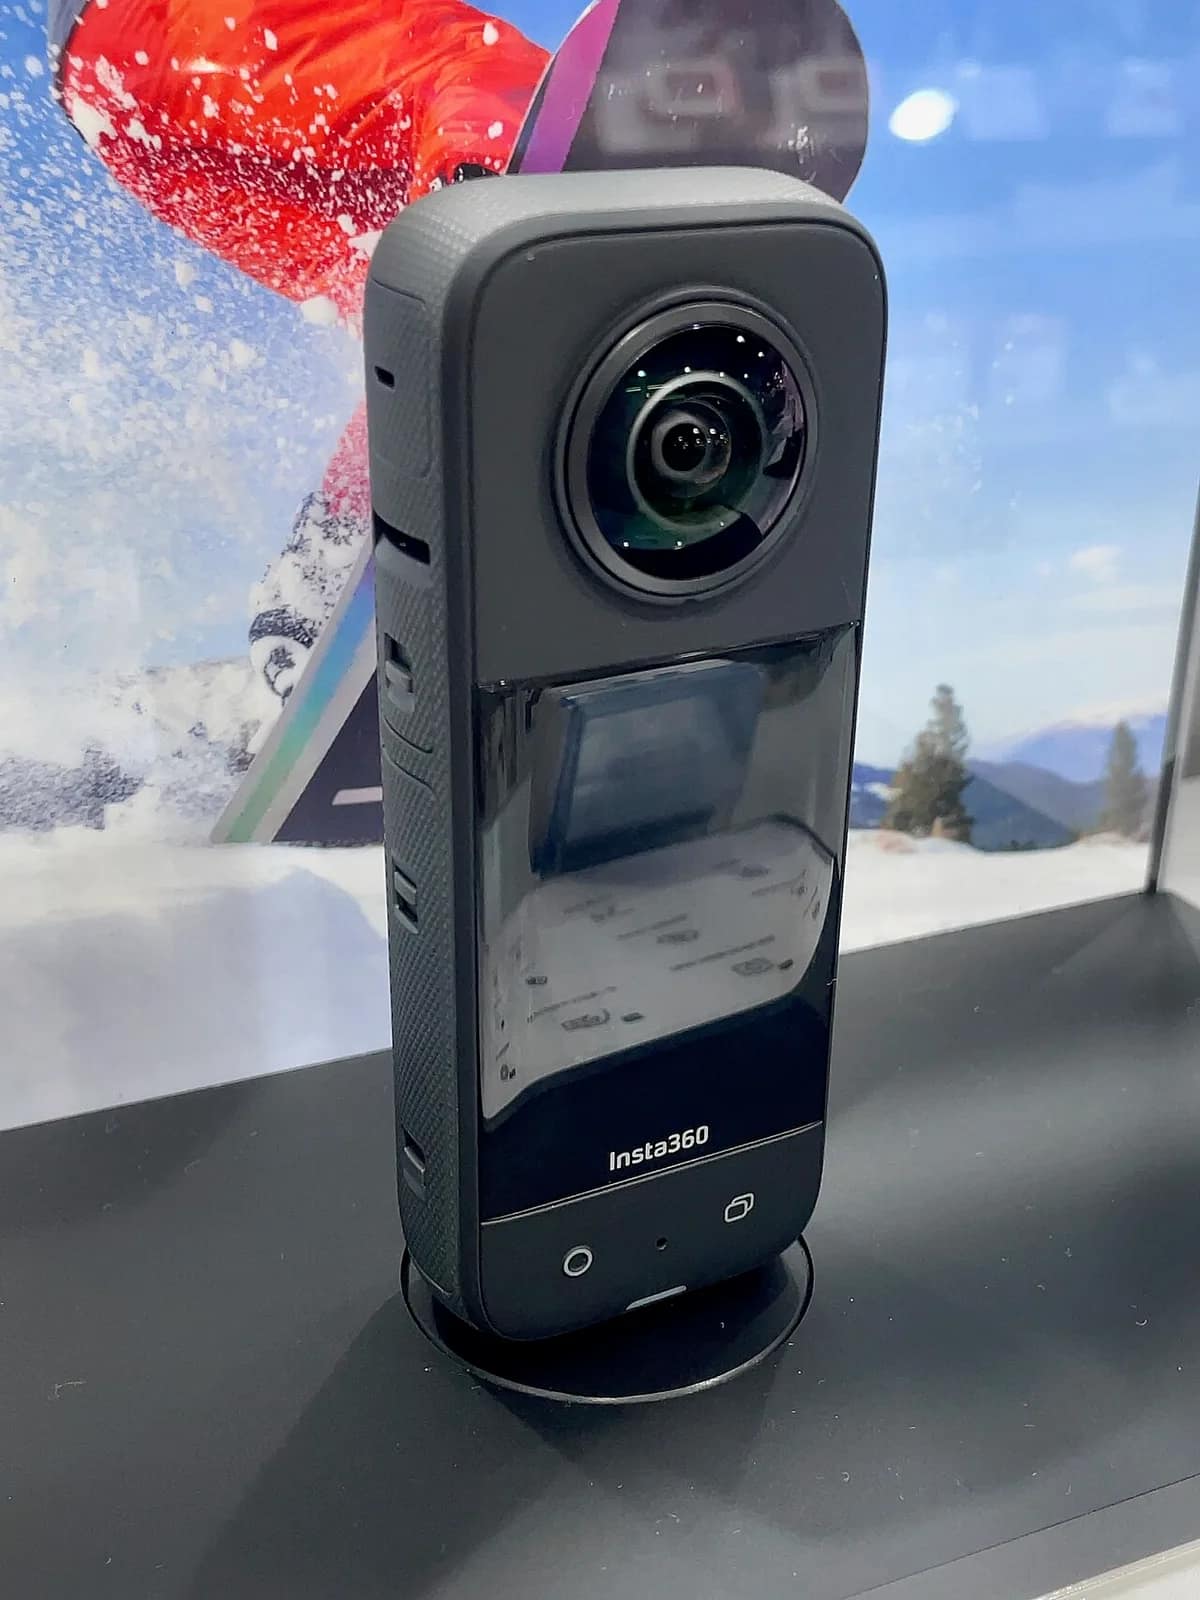
A 360 camera like the Insta360 X5 adds appreciable flexibility in this area: as it records the entire scene, you decide the direction of the gaze once in front of your screen, which makes up for approximate framing at the time of exposure.
Ready to capture the passing of time?
Timelapse and hyperlapse are accessible to everyone, provided they have the right equipment. At Fox Rider , we provide you with verified and ready-to-use cameras, delivered quickly anywhere in France, with insurance covering breakage and theft. This is the ideal formula for carrying out a creative project or a trip without heavy investment, technical support by telephone included.
More in this section
 Action & 360 cameras
Filming in 360° with the Insta360 X5: Complete Tutorial
Learn to film in 360° with the Insta360 X5. Complete tutorial: settings, filming techniques, editing and workflow for successful 360 videos.
5 min read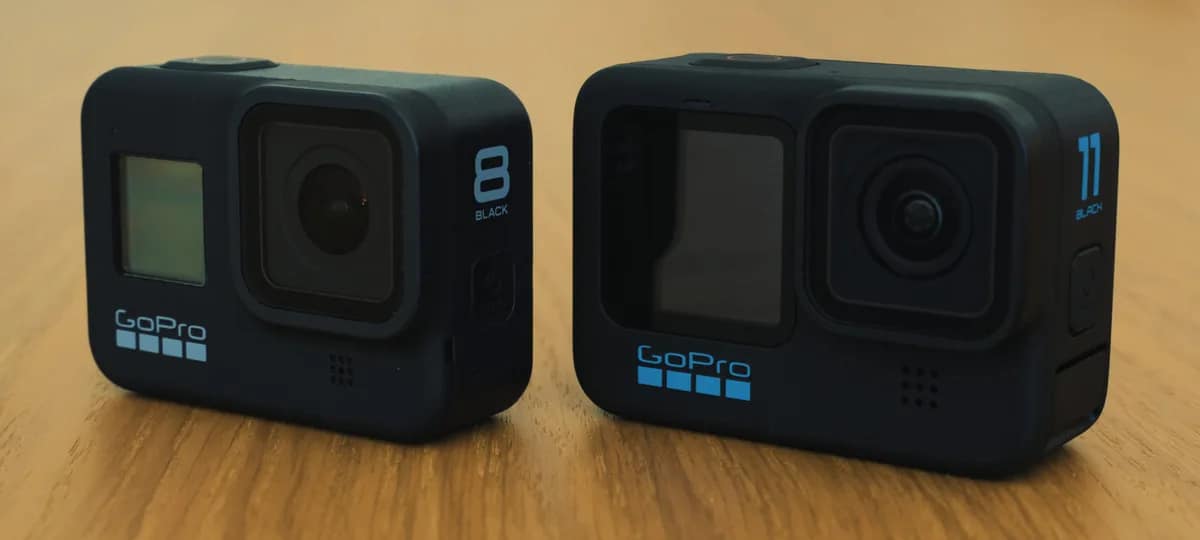 Action & 360 cameras
GoPro in Lyon: spots, settings and tips for filming
Kayaking on the Saône, mountain biking in the Monts du Lyonnais, skiing in the Alps: where to film with a GoPro around Lyon, with which settings and mounts.
4 min read Action & 360 cameras
Rental GoPro for bachelor/bachelorette party
A bachelorette party or bachelorette party is being prepared, and you want to film everything? The rental GoPro is the ideal solution to capture every moment without risking your equipment.
5 min read