
Action & 360 cameras
Filming underwater: complete guide with GoPro and waterproof housing
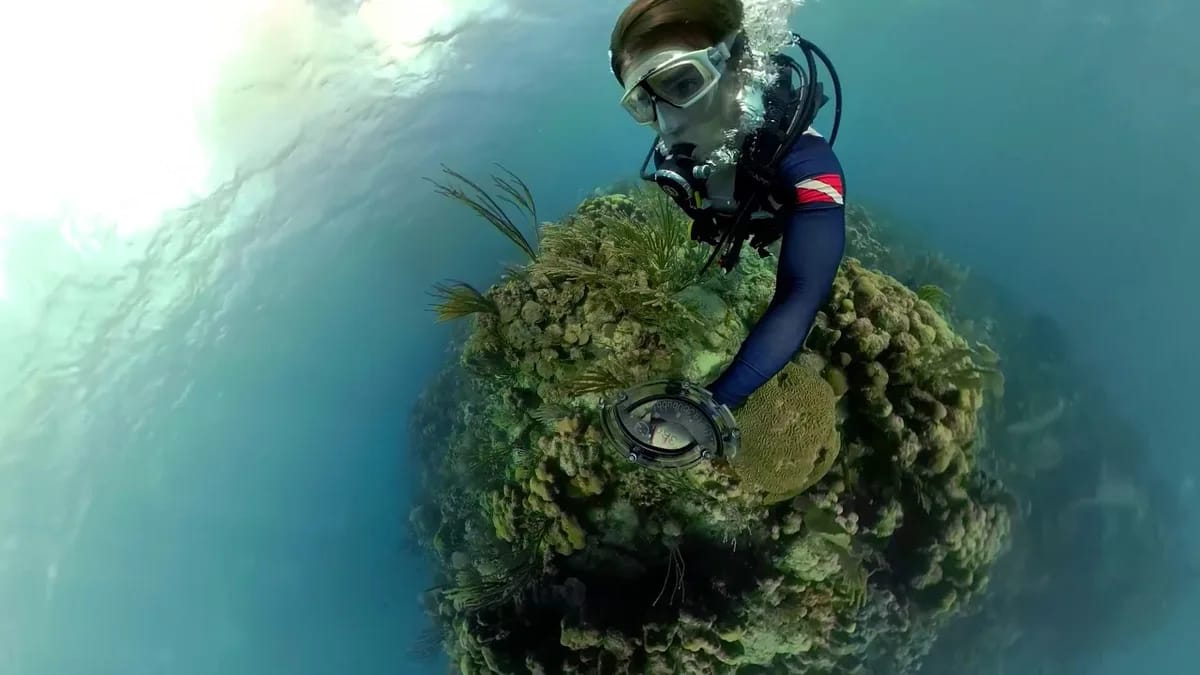
Filming underwater is one of the most spectacular uses of an action camera. Snorkeling in the coves, diving in the Mediterranean, playing in the swimming pool: underwater images have a unique power of fascination. With a GoPro and a few well-chosen accessories, you can capture documentary-worthy footage. Here is the complete guide to successful underwater videos.
What equipment to film underwater?
The choice of camera depends above all on the target depth. A location GoPro Hero 12 is waterproof up to 10 meters without a housing, which largely covers snorkeling and swimming. For deeper diving, a dedicated waterproof case becomes necessary to protect the housing from pressure. The location GoPro Hero 11 offers comparable underwater performance and remains an excellent choice.
The decision is made in two cases: when snorkeling and swimming, the bare case is sufficient; in diving and freediving, the box is systematic. If in doubt, refer to the instructions for the exact model you are using and never force a camera beyond its certified depth: the housing does not warn before giving way.
On the accessories side, four elements make the difference:
- The red filter: essential underwater, it compensates for the loss of warm colors caused by depth, which naturally filters reds and oranges.
- The floating grip: a handle that floats prevents you from losing the camera if it slips out of your hands, and makes it easier to shoot at arm's length.
- Immersible LED lighting: essential in murky waters or beyond a few meters, where natural light quickly declines.
- The attachment: mask, chest harness or handle, depending on the desired point of view and whether you want to keep your hands free or not.
A 360 camera like the Insta360 X5 approaches the subject differently: it records the entire scene and lets you choose the framing once inside, which is valuable underwater, where a school of fish rarely passes where you were looking. Simply check the depth allowed by the model and bring its own dedicated box if you go down.
Check before immersion
It’s the move we skip when we’re in a hurry, and it’s the one that costs the most. Before each launch, take thirty seconds to check:
- That all the side hatches – battery, charging port, memory card – are perfectly closed and locked.
- That the seals are clean and free of sand or dust.
- That the objective and the protective lens bear no marks or scratches.
A simple grain of sand stuck in a joint is enough to cause infiltration and doom the device. This check applies to both the bare case and the box.
Optimal settings
Good configuration avoids many disappointments once below the surface.
- Resolution and frame rate: a 4K format offers a cinematic rendering; increase the pace if you want to slow down. Linear mode, without distortion, gives more natural images.
- White balance: on the surface, automatic is sufficient. Underwater, use the aquatic mode if available, otherwise a suitable manual balance combined with the red filter — or a neutral setting intended to be corrected in editing, which preserves more information in the image.
- Exposure: Lock it to prevent fluctuations when moving from a bright to a dark area. Controlling the sensitivity also limits digital noise, which is very visible in the blues of the water.
Shooting techniques
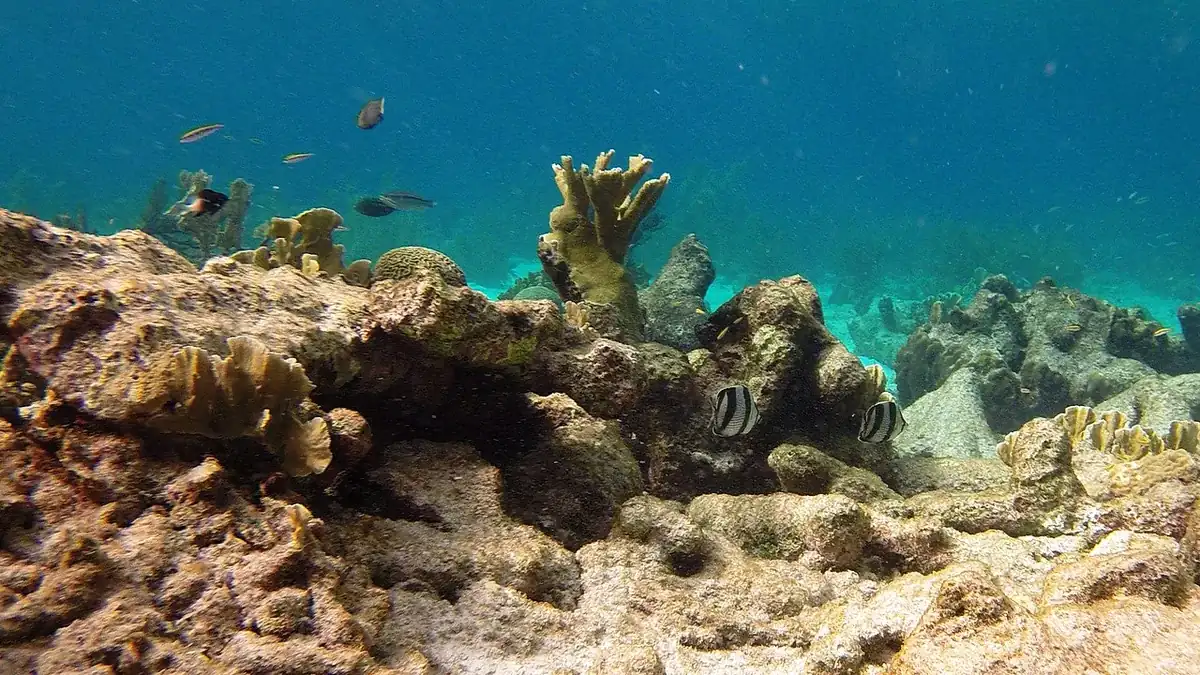
Underwater, gestures change everything. Move slowly and fluidly: sudden movements create unstable images and scare wildlife. Fin gently to move around and use your arms as stabilizers. The slow tracking shot along a reef or a school of fish produces the most beautiful sequences.
Get as close as possible to your subjects: water reduces sharpness and contrast with distance, and zooming only makes things worse — it's better to get physically closer. A fish filmed at thirty centimeters will be much more impressive than a reef filmed at three meters. Be patient: marine animals get used to your presence if you remain still.
Take advantage of natural light
Light is your best ally underwater. Film in the middle of the day, when the sun is high: its rays penetrate deeper and create these magnificent rays of light. Position yourself facing the sun for dramatic backlights, or with your back to the sun for vibrant colors. The further down you go, the more the palette turns blue: this is where the additional lighting becomes more relevant.
Equipment safety and maintenance
Never dive beyond your skills or the depth your equipment will support, and always keep your eye on the environment rather than the screen.
Once on land, the routine is short but non-negotiable. Rinse the camera and its accessories carefully with fresh water, after the sea or after the swimming pool: salt and chlorine are both corrosive. Then dry the exterior with a soft cloth, in the shade and never in direct sunlight. Do not open any hatch while the camera is wet, and never with wet hands: this is the precise moment when water gets inside. Finally, store the equipment in a dry place.
Post-production
Even with the best settings, your underwater videos will often have a blue or green cast. Free editing software like DaVinci Resolve makes color correction easy: bring up the reds and oranges, slightly adjust the contrast and saturation to find natural, vibrant hues.
Rent your camera for your underwater adventures
No need to buy a camera that you will only use a few weeks a year. Rent a GoPro Hero 12 or a GoPro Hero 11 from Fox Rider for your seaside vacation: equipment checked before each shipment, delivery throughout France and breakage and theft insurance included.
More in this section
 Action & 360 cameras
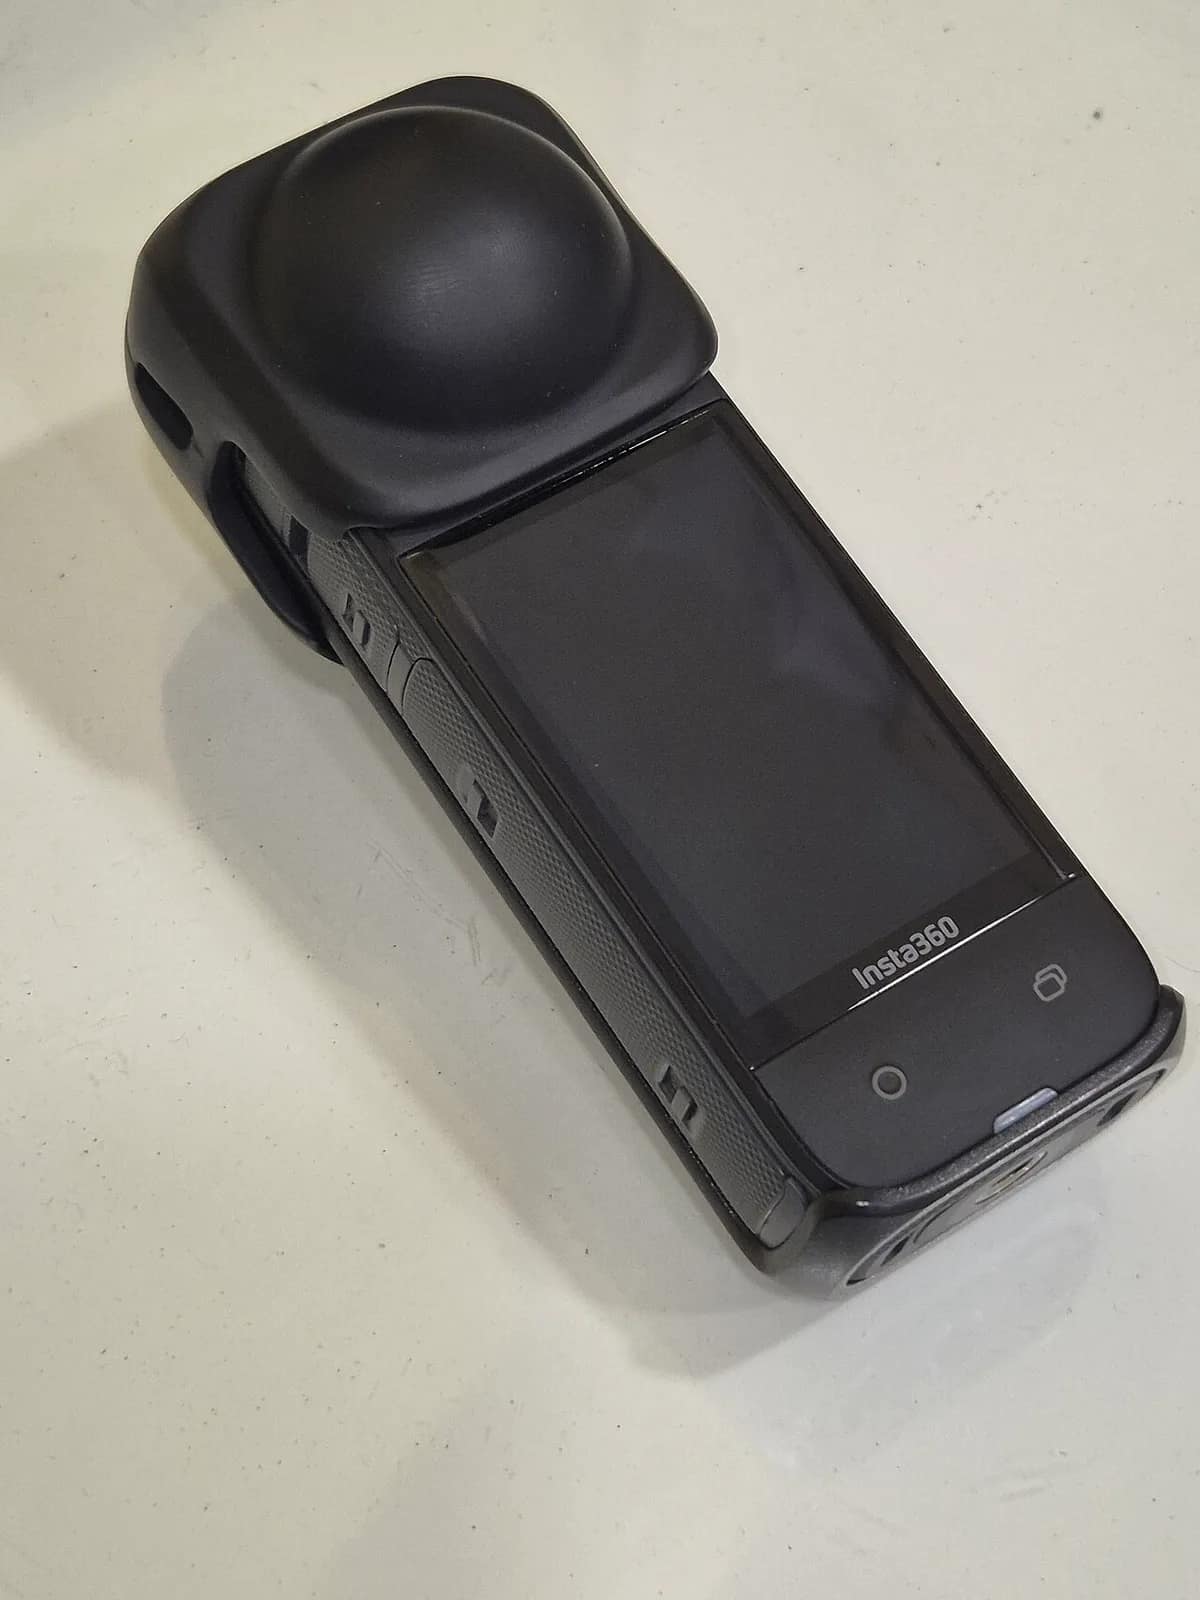
Insta360 X5: the complete test of the 360 camera
The 360 camera has long been seen as a gadget reserved for technology enthusiasts. With the Insta360 X5, this category […]
6 min read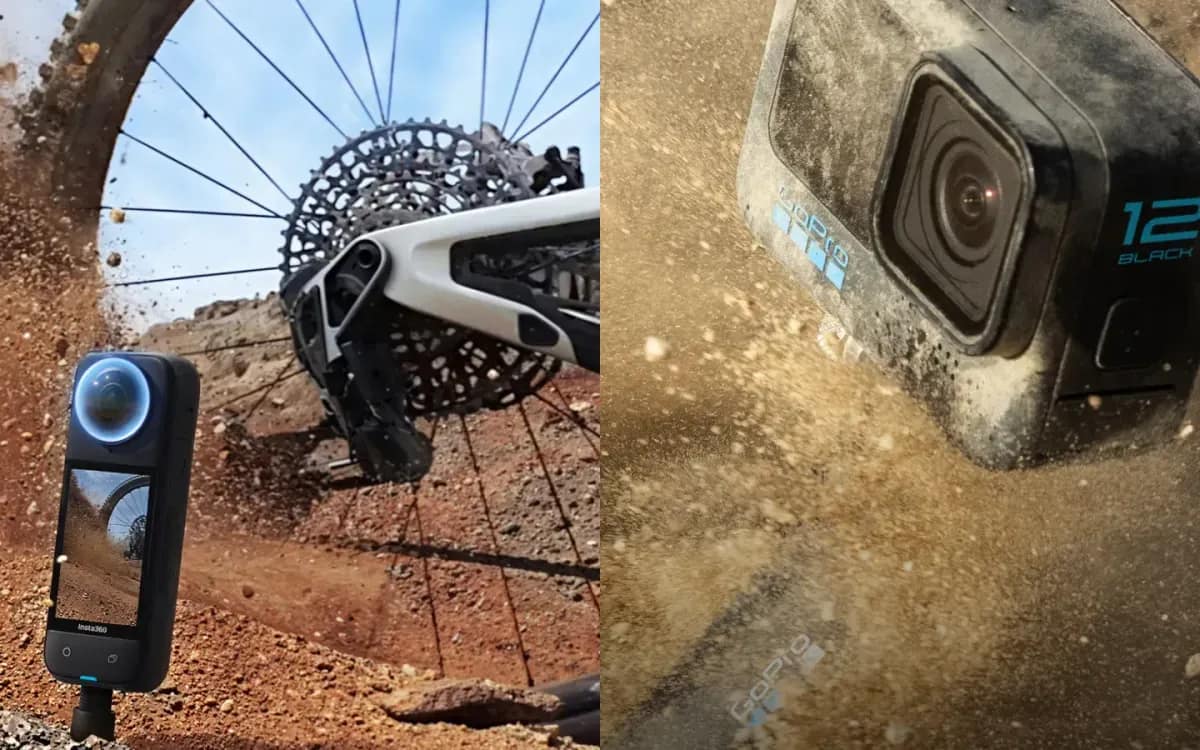 Action & 360 cameras
Motorcycle road trip: Insta360 X4 or GoPro HERO 12?
For a multi-day motorcycle road trip, here is what sets the Insta360 X4 apart from the GoPro HERO 12 Black, and what the HERO 13 would change.
6 min read Action & 360 cameras
How many viewpoints for an immersive tour
The question is not “how many photos” but “where must the visitor be able to stand”. One shot per room is a floor, not a rule.
5 min read